

How to Remove a Strap Lock Without Damaging an Appliance Finish
Removing an adhesive strap lock without harming an appliance finish takes patience and two sets of instructions. The lock maker explains how the adhesive base may be released. The appliance maker explains which cleaners, tools, heat levels, and amounts of moisture are safe for the exact finish.
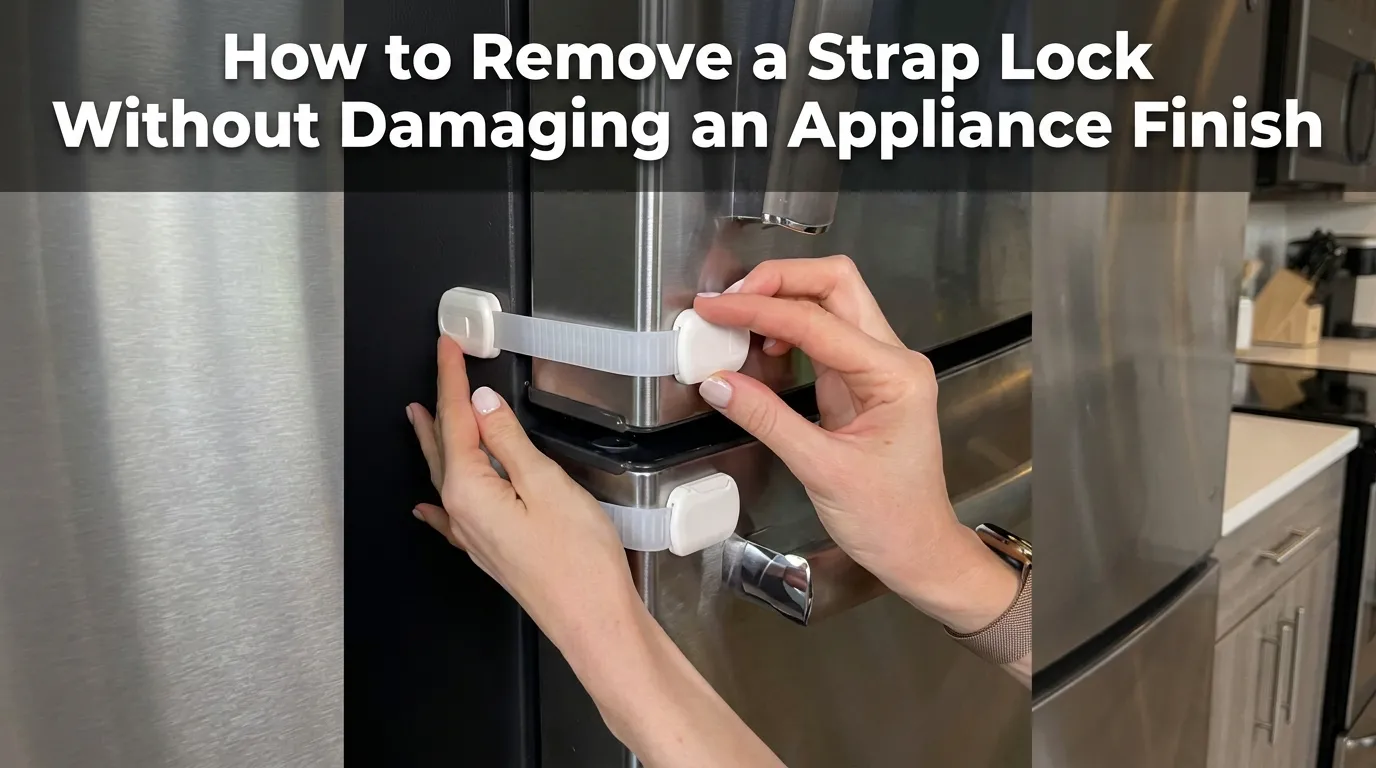
No method can promise a damage-free result. Adhesive age, heat exposure, surface condition, prior paint repair, and the type of coating all affect removal. Work slowly and stop as soon as the finish changes or the base resists more than the approved method allows.
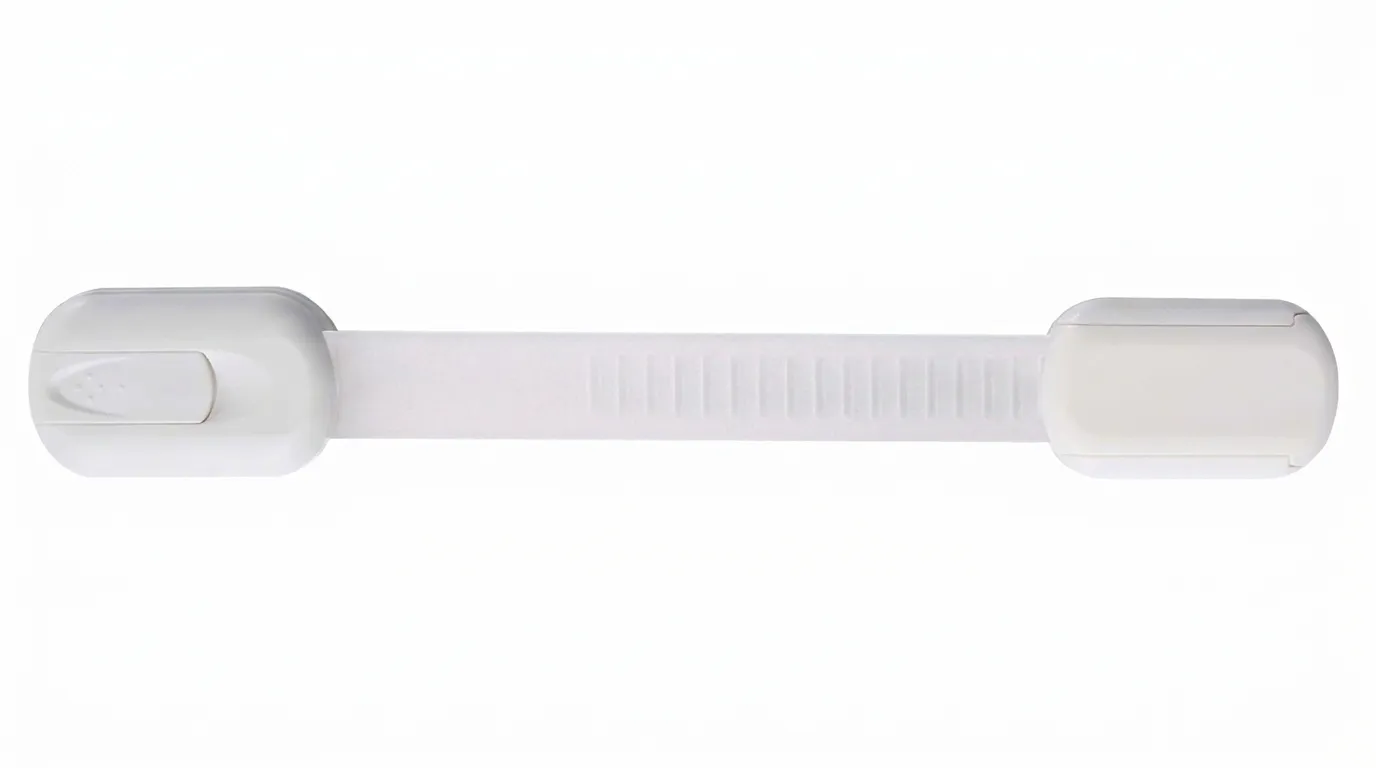
Identify the lock and surface before starting
An external strap lock normally has a flexible connector and two adhesive bases. One base includes the release mechanism, while the other anchors the strap. The strap may detach from one or both bases, depending on the design.
Do not pull the complete lock away from the appliance in one motion. First check whether the strap can be released or removed from the bases as the product instructions direct. Taking tension off the connector can make the bonded areas easier to inspect and keeps you from twisting both pads at once.
Next, identify the material under each base. One appliance can combine several finishes:
- Brushed or coated stainless steel on the door
- Painted metal on the side panel
- Glossy or matte plastic around a handle or display
- Textured trim near a control panel
- Flexible rubber or vinyl at a gasket
The two bases may not sit on the same material, especially when a strap crosses a refrigerator door seam or a curved appliance corner. Assess each pad separately.
Before removal:
- Find the strap-lock removal directions.
- Find the appliance model number and finish-care directions.
- Let the appliance surface become cool and dry.
- Photograph the lock position and all adhesive edges.
- Inspect for chips, scratches, bubbles, loose coating, cracked trim, rust, or repair paint.
- Check whether a pad overlaps a badge, seam, vent, gasket, dispenser, display, button, or door edge.
- Stop and request guidance if the finish is unknown or a pad crosses more than one material.
These checks matter because an old chip or touched-up area can lift even when the original factory finish would have remained stable. A photo also makes it easier to distinguish pre-existing damage from a change that happens during removal.
Avoid the tools most likely to cause damage
Do not use a knife, razor blade, metal scraper, screwdriver, abrasive pad, steel wool, or another hard prying tool. These can scratch stainless steel, chip paint, cut plastic, or slip into a gasket.
Avoid heat guns. Do not flood the area with water or cleaner, particularly near seams, controls, vents, dispensers, and electrical parts. Aggressive solvents, caustic cleaners, and unapproved adhesive removers can alter color, gloss, protective coatings, or plastic texture.
Common household advice may suggest dental floss, fishing line, warm air, rubbing alcohol, oil, or commercial adhesive remover. Treat each of those as a product-specific option, not a universal step. Use a method only when the lock instructions allow it and the appliance care guide confirms that the finish and nearby components can tolerate it.
Follow a controlled removal sequence
1. Release the strap
Open the lock in its normal adult-use position. If the design allows the connector to detach without pulling on the bonded bases, remove or set aside the strap. Do not twist a base or use the strap as a handle for prying.
2. Inspect every edge
Use good lighting to look around both adhesive pads. Pay special attention to a pad near a painted seam, plastic trim, or a repaired area. If the coating already appears loose, do not begin peeling.
3. Use only the approved release method
Apply force in the direction and manner stated by the lock maker. Work in small increments and keep the force close to the surface instead of pulling the base straight outward. Support nearby trim with your free hand only if the appliance instructions allow you to touch that area.
If the directions allow a soft line to separate the adhesive, keep the line flat against the adhesive layer rather than dragging it across the visible finish. If they allow gentle warmth, use only the approved temperature and distance. Stop if the surface becomes warmer than expected or the coating softens.
4. Pause often
After each small movement, check the finish under angled light. Look for paint lifting, a change in sheen, cloudiness, color transfer, scratching, residue smearing, or increasing resistance.
Do not respond to resistance by pulling harder or adding an unapproved chemical. Resistance is a reason to stop and review the instructions.
5. Clean residue separately
Once the plastic base is off, deal with adhesive residue as a separate task. Use only the cloth and cleaning method approved for the appliance. A product that is suitable for plain glass or uncoated metal may be unsuitable for black stainless, fingerprint-resistant coatings, painted metal, or plastic trim.
Keep liquids away from seams and controls. Apply a permitted cleaner to the cloth rather than pouring it onto the appliance when the appliance instructions recommend that approach. Use light pressure and check the surface after each pass.
6. Dry and inspect
When the approved cleaning step is complete, dry the area as directed and inspect it from more than one angle. Do not apply a replacement pad over residue, dampness, lifted paint, clouded plastic, or a surface that has not returned to its normal appearance.
Adjust the method to the finish
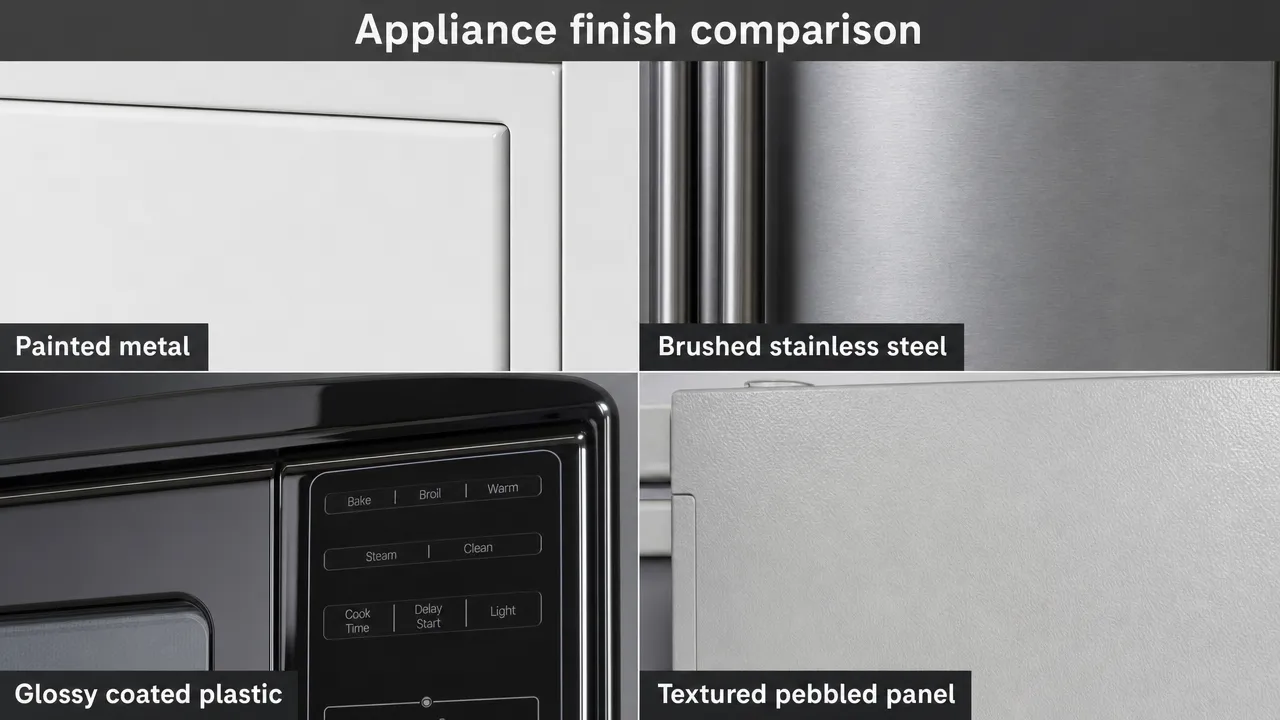
Painted metal
Paint can lift, chip, wrinkle, discolor, or lose gloss, especially on an older appliance or a previously repaired area. Do not pull a pad quickly or scrape under it with a blade.
Stop if paint begins to move with the adhesive, bubbles appear, the surface becomes dull, or a different layer is visible below the pad. A pad that crosses a paint seam, badge, or touched-up section deserves extra caution. Ask the appliance manufacturer or a qualified repair professional how to proceed rather than trying a stronger solvent.
Brushed or coated stainless steel
Stainless steel may have a visible grain, a clear protective layer, a fingerprint-resistant coating, or a colored finish. Black stainless and other coated finishes do not necessarily tolerate the same products as plain brushed stainless.
Identify the grain direction before wiping. If cleaning is permitted, keep strokes light and follow the appliance care guide. Do not scrape across the grain or polish one small spot aggressively. Stop if new scratches appear or one area becomes glossier, duller, streakier, or discolored.
Coated plastic
Plastic handle inserts, control surrounds, and decorative panels can cloud, whiten, soften, crack, or develop stress marks. Do not apply a metal-cleaning method to plastic simply because the surfaces touch.
Avoid bending trim away from the appliance. Keep liquids and pressure away from displays, buttons, and seams. Stop if the plastic becomes hazy, sticky, soft, white, or cracked, or if color transfers to the cloth.
Textured surfaces
Pebbled paint and embossed plastic can hold adhesive inside small recesses. Hard rubbing or scraping may flatten the texture and leave a shiny patch that is more visible than the original residue.
Use only the approved low-force method. Stop if residue spreads into a wider area, the texture changes, or the surface develops a different sheen. Embedded residue may require model-specific cleaning guidance.
Gaskets, controls, and seams
A base should not have been installed on a flexible gasket, vent, display, moving trim piece, or control area. If you find one there, avoid introducing liquid, heat, or prying force. Contact the appliance manufacturer or a qualified service provider before proceeding.
Know when to stop
| What you see | Immediate response |
|---|---|
| Paint lifting, chipping, bubbling, or wrinkling | Stop pulling and do not press the pad back down. |
| Plastic becoming cloudy, white, soft, tacky, or cracked | Stop using cleaner, heat, and pressure. |
| Scratches or a changed stainless-steel grain | Stop rubbing or scraping. |
| Residue spreading into a larger film | Stop adding products or increasing force. |
| Trim, gasket, badge, or control panel moving | Stop and arrange model-specific guidance. |
| Instructions missing or in conflict | Do not guess. Contact the lock and appliance manufacturers. |
A qualified appliance repair professional is a sensible next step when a control panel or gasket is involved, trim has begun to separate, the finish is specialty-coated, or prior repair work is visible under the pad.
Decide whether to reinstall a lock
Inspect the appliance after the surface is clean and fully dry. A replacement adhesive base needs a stable, compatible area. Do not cover damage or residue with a new pad, and do not reuse a location that the appliance care guide identifies as unsuitable.
Review the new placement before removing any backing. Keep both bases away from controls, dispensers, vents, seals, heated zones, door edges, and surfaces that flex. The strap should cross the opening without excessive slack, sharp bending, or pressure on a moving part.
The Vmaisi Multi-Use Adhesive Strap Locks are external locks for selected cabinets, drawers, refrigerators, dishwashers, toilet seats, ovens, and trash cans. Check both mounting surfaces, follow the installation and curing directions, and do not assume the adhesive is suitable for every appliance finish or temperature.
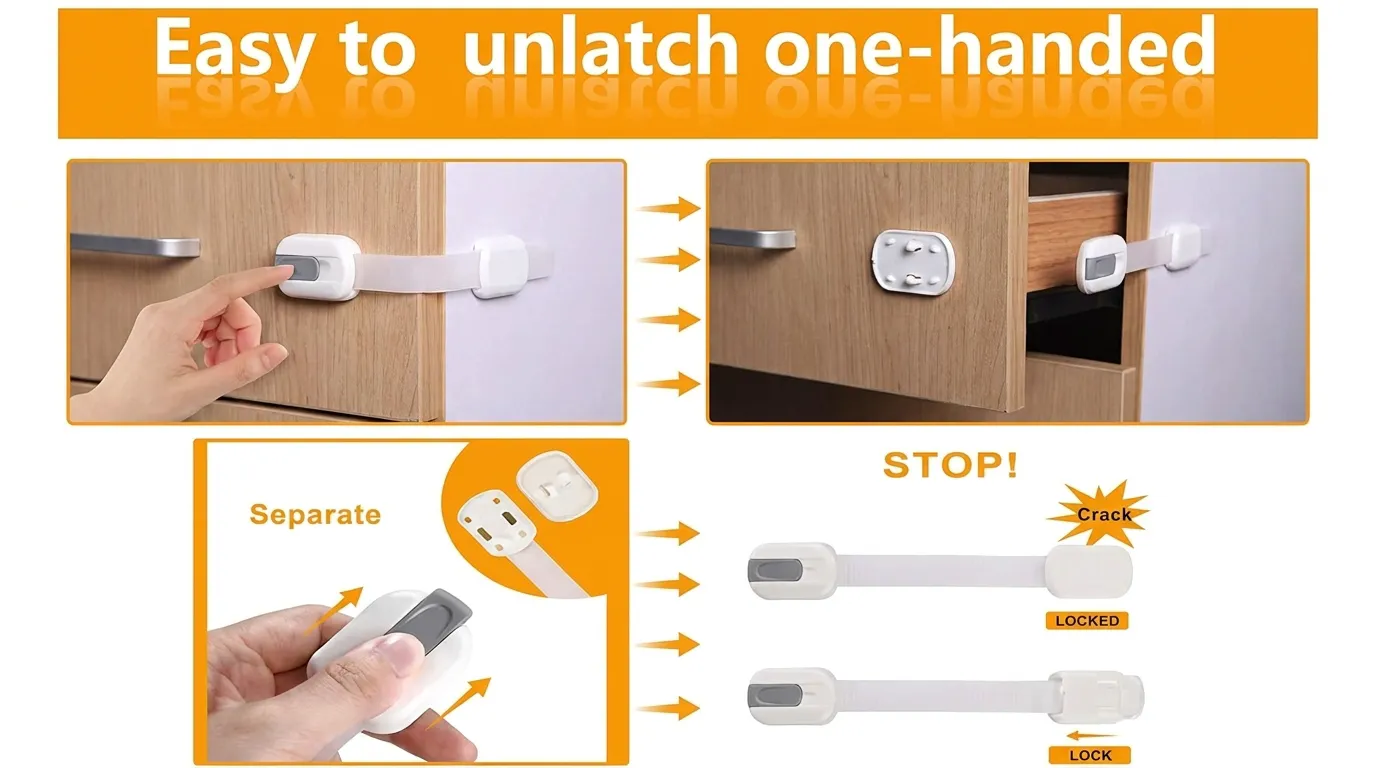
After installation, reconnect the lock after every use and inspect the pads for lifting or movement. The safest removal later will begin with the choices made now: a compatible surface, a clear location, correct installation, and the original product and appliance instructions kept where you can find them.