

How to Protect Painted Door Frames from Pressure-Mounted Baby Gates
Pressure-mounted baby gates stay in place by pressing contact pads or threaded spindle ends against both sides of an opening. That pressure can leave scuffs, dents, or lifted paint when the gate is misaligned, overtightened, or installed against weak trim.
Protecting the finish starts with the gate manual, accurate measurements, and sound contact surfaces. A wall cup may help distribute pressure when it is compatible with the gate and the opening, but it cannot correct a damaged frame or an unsuitable installation.
Start with the gate manual and a sound frame
Read the instructions for the exact gate model before placing anything against painted trim. Confirm the approved opening-width range, permitted locations, pressure-adjustment sequence, required wall cups, and secure-fit test. If the manufacturer requires supplied or screw-mounted cups, follow that direction.
Do not assume a pressure-mounted gate is suitable for the top of stairs. The gate model and its instructions determine where it can be used. A wall protector does not change those limits.
Inspect all four proposed contact points. The paint and underlying trim should be firm, dry, and intact. Stop and repair or choose another approved location if you find:
- Flaking, chipped, or uncured paint.
- Split or loose wood trim.
- Cracked caulk or a separating molding.
- Soft drywall or an unstable surface.
- A narrow edge that cannot support the whole pad.
- A rounded profile that makes the pad rock.
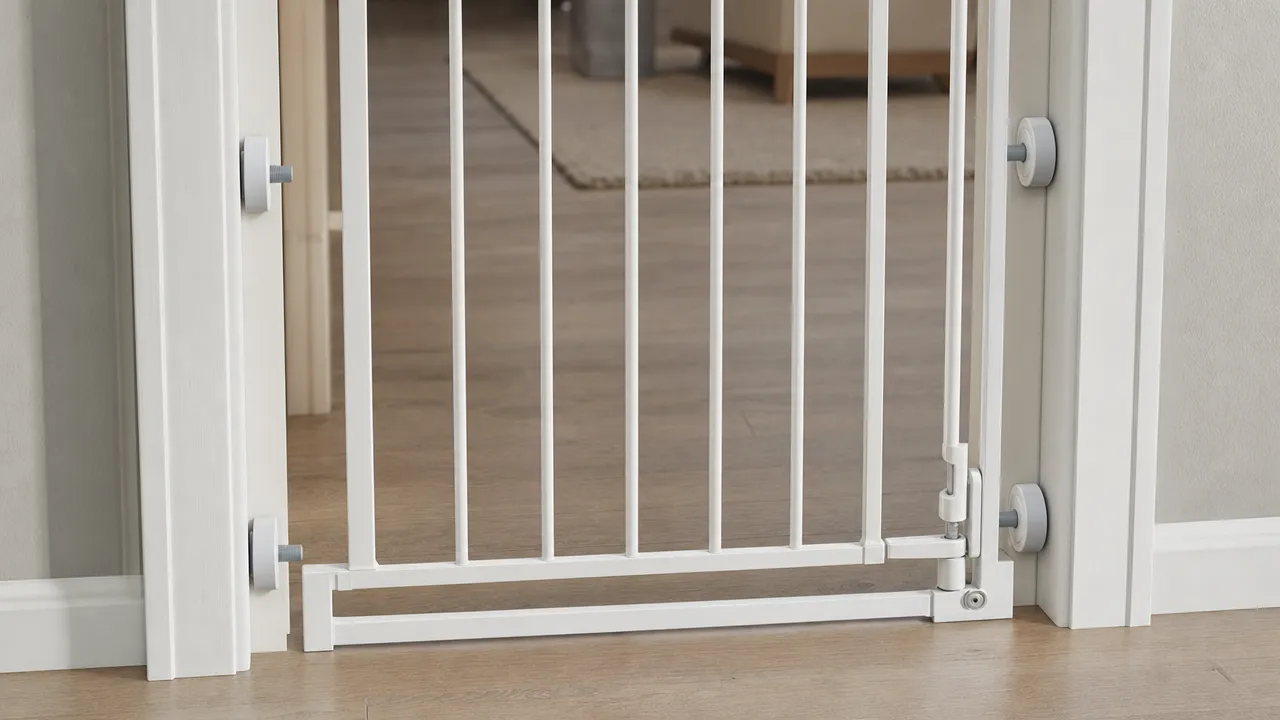
A contact pad should rest on one flat plane. It should not bridge a seam, sit partly on a molding edge, or press across two surfaces at different depths.
Measure at all four contact points
Door trim and baseboards often change the usable width between the top and bottom of an opening. Measure where each upper and lower pad will actually touch rather than relying on one doorway measurement.
Record:
- The upper width between the planned contact areas.
- The lower width between the planned contact areas.
- The amount of flat, supported trim available for each pad.
- The usable width after any approved wall cups are added.
Compare those figures with the gate's stated range. Include an extension only if the exact gate instructions allow it. Do not fill a large gap by overextending the spindle rods or stacking improvised material behind the pads.
If the upper and lower measurements differ, do not angle the gate to make it fit. An angled frame loads the four contact points unevenly, can distort the latch alignment, and may make one pad rub against the paint.
Clean the pads and painted surfaces
Dust or grit trapped under a pad can act like an abrasive when the gate moves. Cleaning residue and moisture can also reduce friction, which may tempt an adult to tighten the gate more than necessary.
Remove the gate before cleaning the contact areas. Use a soft cloth and a method that is safe for the paint and trim. Avoid abrasive pads, scraping tools, and strong solvents unless the finish manufacturer permits them. Wipe the gate pads or approved cups as well, then let everything dry completely.
Do not install the gate against damp paint or immediately after cleaning. Moisture trapped beneath a rubber pad or wall cup can mark the finish and interfere with stable contact.
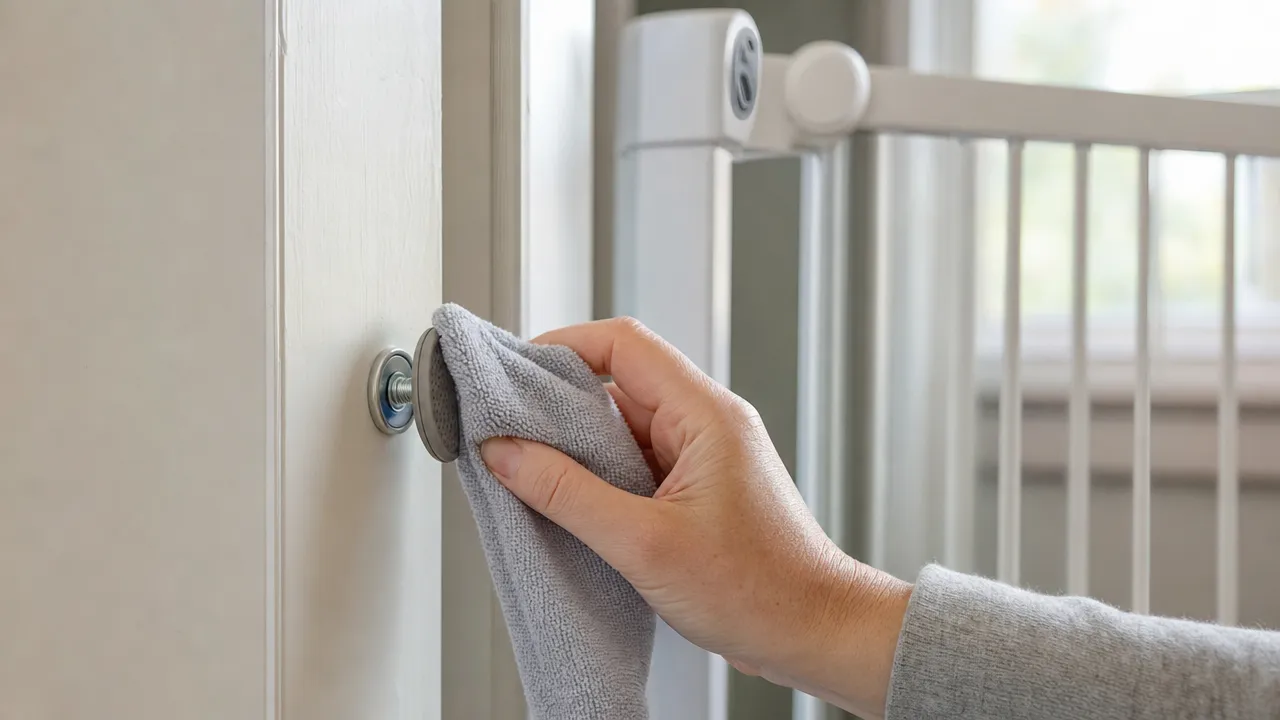
Avoid adding felt, foam, cardboard, folded cloth, or other homemade padding between the gate and frame. Those materials can compress, shift, or reduce friction. Use only components permitted by the gate instructions.
Apply pressure gradually and evenly
Place the gate in the approved opening at the height and orientation specified by the manufacturer. Center the frame so each pad can meet a flat contact area. Bring the pressure points into contact gradually rather than fully tightening one corner first.
Follow the adjustment order in the manual. Gates differ in frame design, pressure indicators, lower supports, and latch alignment. There is no universal number of turns.
During adjustment, keep checking that:
- The frame remains vertical and centered.
- All four pads sit flat.
- The latch closes without being forced.
- The gate does not twist as pressure increases.
- The spindle rods retain the required thread engagement.
- The gate passes the manufacturer's secure-fit test.
More pressure does not automatically create a better installation. Overtightening can dent soft wood, compress trim, crack caulk, lift paint, distort the gate frame, or move the latch out of alignment.
| What you notice | Possible cause | What to do |
|---|---|---|
| One pad leaves a deep mark | Excessive pressure or a weak contact surface | Remove the gate and inspect the trim and fit |
| The gate is not level | Uneven adjustment or uneven contact areas | Release pressure, center the gate, and restart |
| The latch rubs or will not close | Frame distortion or incorrect alignment | Reset the pressure according to the manual |
| A pad sits partly on molding | The contact area is too narrow | Choose another approved flat location |
| Scuffs reappear | Dirt or movement at the contact point | Clean, realign, and check for shifting |
If the gate rocks, slides, sags, rattles, or needs excessive tightening to stay in place, remove it. Recheck the opening dimensions, surface condition, component compatibility, and installation instructions.
When a wall cup can help
A compatible wall cup or protector spreads contact over a larger area and may reduce concentrated marks on painted trim. Its rear surface may also add friction. The accessory still needs to sit fully flat on a sound surface, and the gate pad or spindle must fit the cup correctly.
The Vmaisi Baby Gate Wall Cup Protector is a rectangular wall-contact accessory for compatible pressure-mounted gates. It is not a complete gate. Before using it, compare the cup dimensions with the available trim, the spindle or end-pad shape, and the gate manufacturer's requirements.

Adding a cup uses some of the gate's adjustment range. Recheck the opening width and remaining spindle engagement after it is in place. A cup should not overhang a trim edge, rotate under pressure, or force the gate outside its approved width range.
Do not use a wall protector to:
- Fill a large gap between the gate and frame.
- Stabilize loose or damaged trim.
- Replace hardware required by the gate manufacturer.
- Make an out-of-range gate fit.
- Change a prohibited location into an approved one.
- Support a claim that the gate is certified or universally compatible.
If the manual requires original cups, screws, or other supplied hardware, use those parts rather than substituting a third-party accessory.
Inspect the finish and fit over time
Check the gate and painted frame daily during the first period after installation. Continue regular inspections after that, and repeat the full check after an impact, cleaning, adjustment, removal, or reinstallation.
Look for:
- New scuffs, dents, compression marks, cracks, or lifted paint.
- A wall cup or pad that has shifted or rotated.
- A gate that rocks, slides, sags, or rattles.
- Loose trim or opening seams.
- A latch that no longer closes normally.
- Reduced thread engagement or loosened adjustment hardware.
- Dirt or moisture at any contact point.
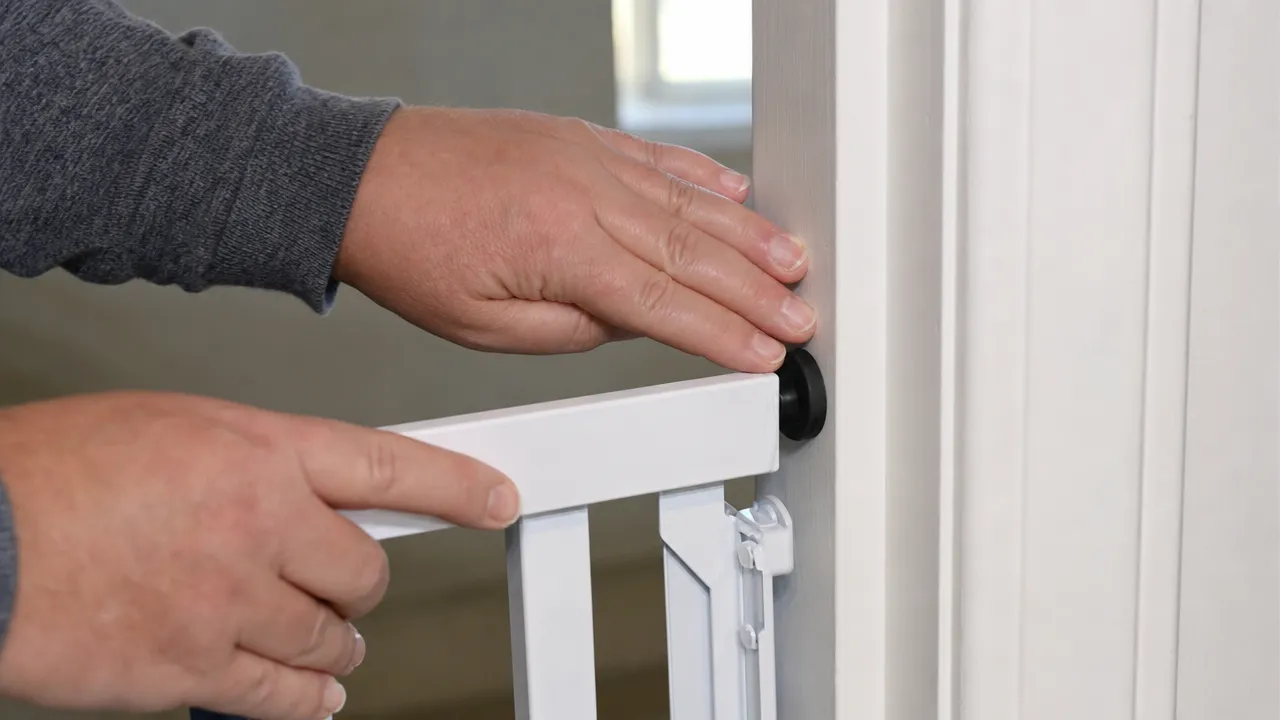
Household movement and repeated operation can change the setup over time. Flooring may settle, a frame may shift slightly, or adjustment hardware may loosen. A gate that felt secure on installation day still needs periodic testing according to its manual.
What to do if marks appear
A light surface mark may come from trapped dirt, but a deep impression, chipped paint, or widening crack needs more attention. Remove the gate and inspect both the finish and the underlying trim. Do not tighten the hardware further to compensate.
Check whether the pad was on an edge, whether the frame was out of level, and whether the opening was within range. Clean and dry the components before reinstalling only if the surface remains sound and the manual still permits the location.
If the paint or trim is damaged, repair it and allow the finish to cure fully before applying pressure again. Choose another approved installation method if the surface cannot provide stable support. Protecting the paint is important, but it must never take priority over correct gate fit and location.
A careful installation should protect both the doorway and the purpose of the gate. Measure every contact point, keep the surfaces clean, apply pressure evenly, use only compatible accessories, and stop if the gate or painted frame shows signs that the setup is not holding as intended.