

How to Childproof a Toilet Lid with a Flexible Strap Lock
A flexible strap lock can make it harder for a young child to lift a closed toilet lid, but it is only one layer of bathroom safety. Keep the bathroom door closed when the room is not in use, supervise children around water, and store medicines and cleaning products out of reach. The lock supports those habits; it does not replace them.
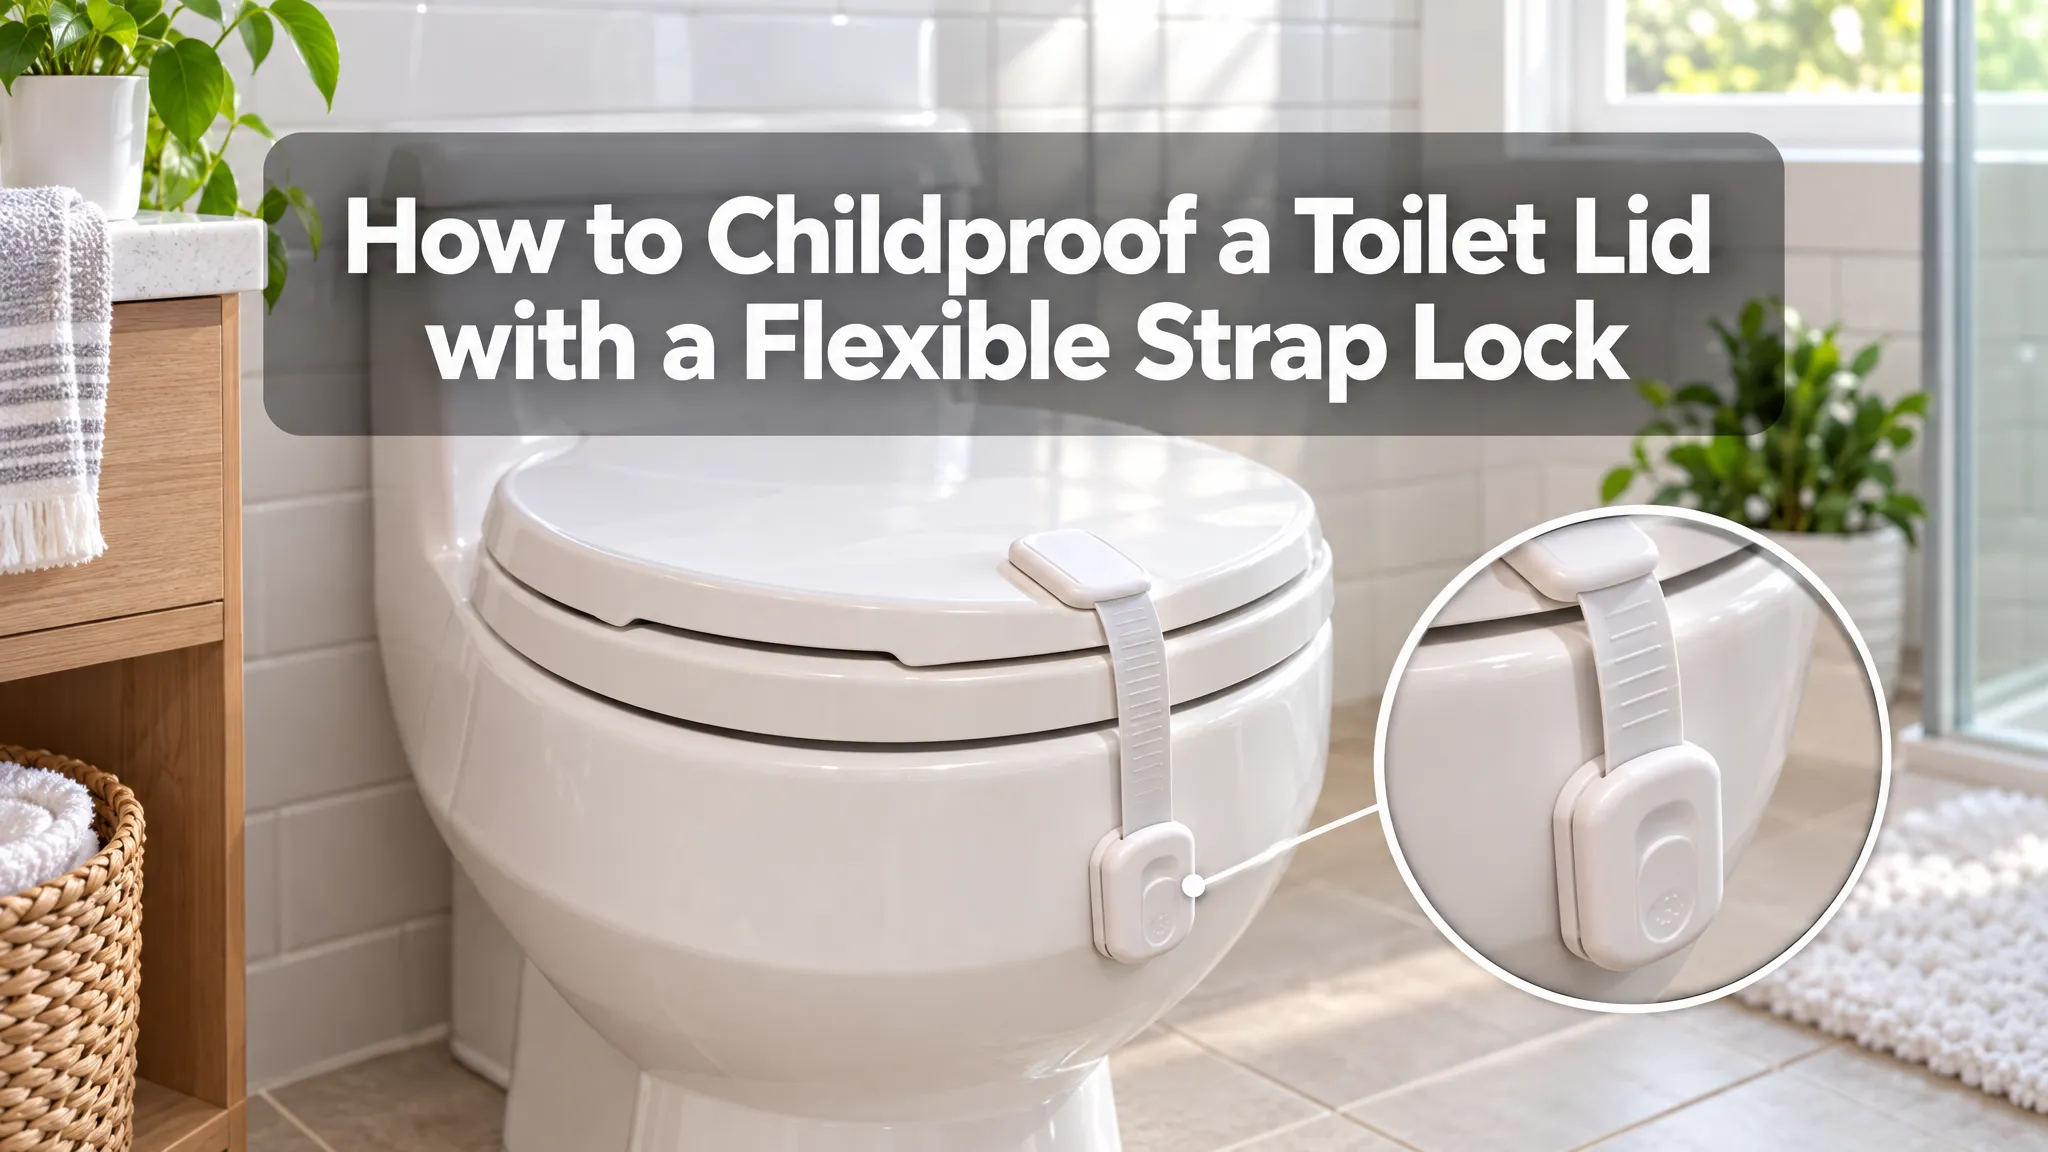
Installation also needs more care than simply sticking one base to the lid and the other to the toilet. The two surfaces must be stable, the strap must clear the hinges and seat, and an adult must be able to release and reconnect it after every use.
Start with a layered bathroom routine
Toilets can be a water hazard for babies and toddlers, especially if a child leans over the bowl and falls headfirst. A closed bathroom door and direct supervision are the first lines of protection. A secured lid can add another obstacle when the room is accessible.
Build the following habits into the household routine:
- Close the lid after every use.
- Reconnect the strap before leaving the bathroom.
- Keep the bathroom door closed when practical.
- Store toilet cleaner, medicines, razors, cosmetics, and other risky items where a child cannot reach them.
- Check the lock as a child becomes taller, stronger, and more observant.
Do not assume that an installed lock makes the room safe for unsupervised play. It reduces access only while the strap is connected, the adhesive bases remain secure, and the child cannot operate the release.
Check whether your toilet has two suitable mounting areas
An external strap lock has two adhesive bases joined by a flexible connector. One base mounts on the exterior of the lid. The second needs a rigid, nonmoving part of the toilet. When connected, the strap crosses the lid's opening path.
The exact position varies because toilet lids and bowls have different shapes. A workable layout needs:
- A broad, stable area on the lid.
- A second exterior area that does not move with the seat or lid.
- Enough room for both bases to sit flat.
- A strap path that clears the hinges, flush control, and plumbing.
- Comfortable access to the adult release.
Avoid the moving seat, hinge covers, removable tank lid, flush lever or button, bowl rim, supply line, and shutoff valve. Do not attach a base across a seam, caulk line, label, loose overlay, chipped finish, or sharply curved edge.
Some toilets do not provide a reliable pair of surfaces. A raised seat, bidet attachment, electrical component, heavily sculpted lid, or tight wall clearance can make a flexible strap layout impractical. Do not force the product into a configuration that changes how the toilet works.

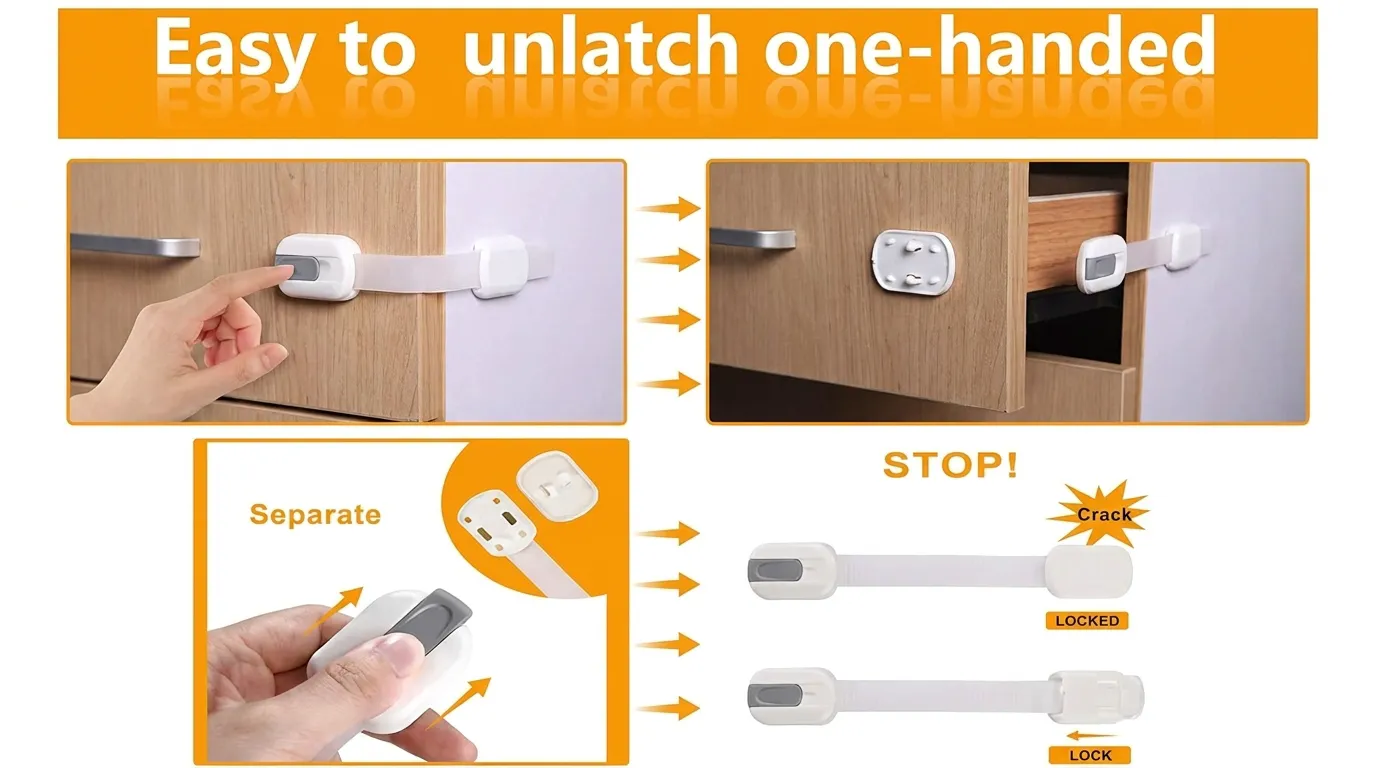
6 Pack Vmaisi Multi-Use Adhesive Straps Locks
Dry-fit the entire strap path
Keep the adhesive liners in place while you test the arrangement. Hold both bases where you plan to mount them and route the strap as it would sit when locked.
Then check the full range of normal movement:
- Close the lid fully and confirm that it sits evenly.
- Make sure the strap reaches without being stretched tight.
- Check that it does not cross or rub against a hinge.
- Confirm that the seat can move normally for your chosen layout.
- Make sure flushing and cleaning access remain clear.
- Test whether an adult can release and reconnect the lock without twisting the strap.
- Check for contact with a wall, vanity, pipe, or storage unit.
A little slack may be necessary for normal operation, but the strap should still block the lid from opening. Excessive slack defeats the purpose. Constant tension is also a problem because it can pull on the adhesive bases and make the release awkward to use.
If the strap must bend sharply around the toilet or an adult has to reach into a narrow gap to open it, choose another compatible position. A lock that is frustrating to use is more likely to be left unlatched.
Prepare clean, dry surfaces
Bathroom humidity, splashes, soap film, and cleaning residue can interfere with adhesive contact. Inspect both mounting areas in good light. The surfaces should be intact, stable, and dry.
Use a cleaning method that is appropriate for the toilet finish and allowed by the lock instructions. Remove dust, fingerprints, residue, and moisture, then let the surfaces dry completely. Do not install immediately after a steamy shower or while condensation remains on the toilet.
Be cautious with strong solvents or abrasive pads. A cleaner that damages a coating or leaves a residue can create a different problem. If the product instructions recommend an alcohol wipe, first confirm that it is suitable for the toilet surface.
Do not mount the bases on:
- Chipped or cracked surfaces.
- Deep texture or a shape that leaves part of the adhesive pad unsupported.
- Flexible trim, seals, or gaskets.
- Damp areas that cannot remain dry.
- Loose seat hardware or a lid that does not close correctly.
Repair loose hinges or unstable toilet hardware before adding a lock. The strap should not be used to hold a shifting seat or lid together.
Apply the bases without changing the alignment
Once the dry-fit works, mark the edges of the proposed locations with small pieces of painter's tape. Keep the tape outside the adhesive area.
Follow the instructions supplied with the exact lock. In general, the process is:
- Remove the backing only when you are ready to place the first base.
- Align the base carefully and press it evenly onto the prepared surface.
- Attach the second base without twisting the strap.
- Apply pressure for the amount of time stated in the instructions.
- Leave the installation undisturbed for the specified bonding or cure period.
Do not repeatedly peel up and reposition a base unless the manufacturer specifically allows it. Repositioning can reduce adhesion and may damage a finished surface.
During the cure period, keep the bathroom inaccessible to the child or use another safety arrangement. Do not test a newly attached base with hard pulls before the stated wait time has passed.
Use and reconnect the lock consistently
Release mechanisms vary. Use the button, tab, or sliding control as described in the product instructions rather than pulling on the strap itself.
For normal use:
- Operate the adult release.
- Move the strap clear without using it as a handle.
- Open and use the toilet normally.
- Close the lid completely.
- Reconnect the strap until the lock is fully engaged.
- Give the connection a quick visual and hand check.
The VMAISI Multi-Use Adhesive Strap Locks are designed as external flexible locks for compatible lids and appliance doors, including toilet-seat applications. Confirm the current product instructions, surface guidance, and release method before installation.
Inspect the lock during cleaning and daily use
A bathroom lock needs regular attention because its surfaces are exposed to moisture and frequent cleaning. Look at both bases whenever you clean the toilet and give the strap a quick check after normal use.
Confirm that:
- Both bases remain flat with no lifting edges.
- The strap is not cracked, cut, warped, or permanently twisted.
- The release engages and opens normally.
- The strap still clears the seat and hinges.
- The lid closes fully.
- Flush controls, tank access, cleaning access, and plumbing remain unobstructed.
- The seat and hinge hardware remain stable.
- The child has not learned to operate the release.
Clean around the lock without soaking the adhesive edges. Do not leave cleaner trapped beneath a base or allow liquid to remain between the strap and toilet surface. Use finish-appropriate cleaning products and dry the area afterward.
Stop relying on the lock if a base lifts, slides, or rocks. Also stop if the strap binds, the release becomes unreliable, the toilet hardware loosens, or the child can defeat the mechanism. Move the child away from the bathroom and use another safety arrangement while you address the problem.
Know when a strap lock is not the right solution
An adhesive strap lock may not suit a toilet with no flat mounting areas, damaged surfaces, unusually tight clearances, or equipment that changes the lid's movement. It should not interfere with a raised seat, bidet, powered attachment, flush sensor, or access needed for maintenance.
If every possible position causes partial adhesive contact, blocks normal operation, or puts the release out of adult reach, do not improvise with extra adhesive or an awkward strap route. Keep the bathroom door secured, supervise closely, and look for a product specifically designed for that toilet configuration.
A well-planned strap lock can be a useful added barrier, but the daily routine determines whether it remains useful. Close the lid, reconnect the strap, inspect the adhesive, and keep the bathroom door and hazardous products under adult control.