

How Strap Length and Placement Affect Appliance Child Locks
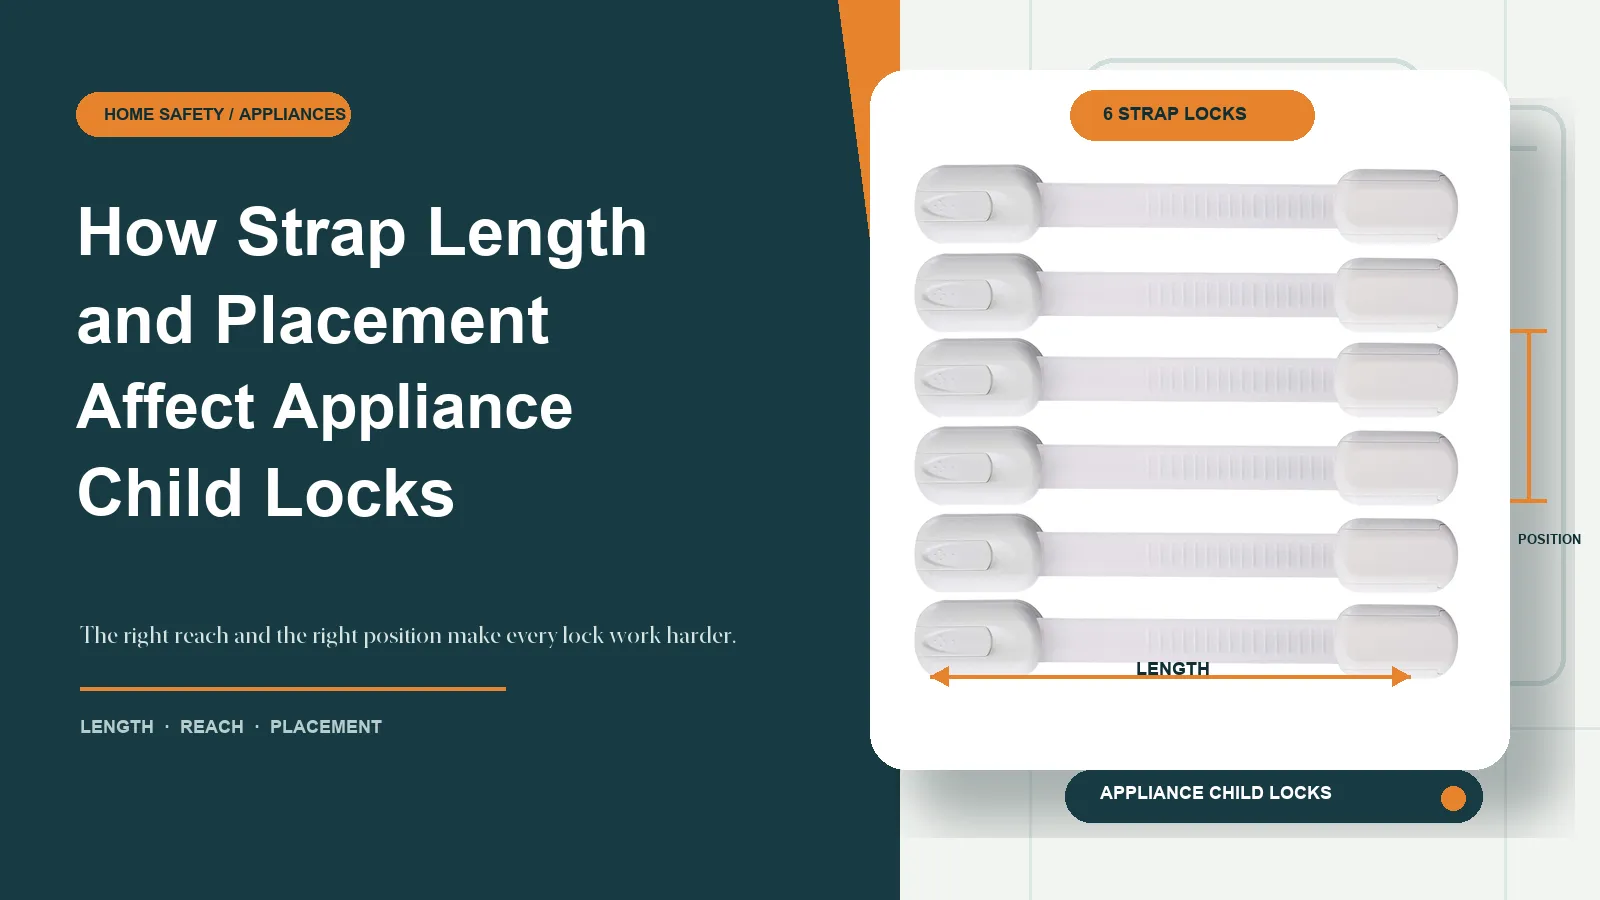
The right strap length is not simply the longest one available. An external appliance lock has to connect two stable adhesive bases, limit unwanted opening, and stay clear of every part the appliance needs for normal operation. A strap with too much slack may allow the door or drawer to open farther than intended. A route that is too short, sharply bent, or twisted can place uneven force on the adhesive bases.
Measure the complete route with the appliance fully closed. Then dry-fit the lock and move the door, lid, or drawer through its normal path before removing any adhesive liner.
Measure the route, not just the gap
Start by identifying one potential attachment area on the moving part and one on a fixed adjacent surface. Each area must be large enough for the entire adhesive base. A narrow strip, rounded edge, decorative seam, flexible gasket, or recessed panel is not a complete mounting surface.
Record four different measurements or observations:
| Check | What to record | Why it matters |
|---|---|---|
| Closed span | Distance between the centers of the proposed bases | Shows whether the strap can bridge the route |
| Base footprint | Available width and height at each attachment point | Confirms that both pads can sit flat |
| Opening path | Swing, downward pivot, upward pivot, or pull-out motion | Reveals rubbing and pinch points |
| Nearby parts | Handles, hinges, seals, vents, controls, trim, and panels | Identifies areas that must remain clear |
Use a flexible tape, string, or low-tack painter's tape to model the proposed route. Center-to-center distance is more useful than measuring only the visible gap between the surfaces because the adhesive bases take up space on both ends.
Do not pull the model tight to make an unsuitable location appear workable. The strap needs enough reach to connect as designed, but it should not hang loosely or wrap around an edge. If the only route crosses a gasket, vent, control, or hinge area, choose another location or another safety approach.
Dry-fit the strap through the full range of motion
Hold both bases in their planned positions without exposing the adhesive. Release the strap and move the appliance through its full normal range. Repeat the check with the lock engaged and the appliance fully closed.
Watch for these problems:
- The strap twists as the door moves.
- A handle catches on the strap or lock body.
- A base overhangs a curve, seam, or trim piece.
- The strap rubs against cabinetry or another appliance.
- A door, drawer, or lid no longer closes normally.
- The route presses on a seal or enters a closing gap.
- The lock blocks a control, display, vent, service panel, or emergency access point.
A strap can be long enough and still be wrong for the location. Movement and clearance matter more than the raw measurement.
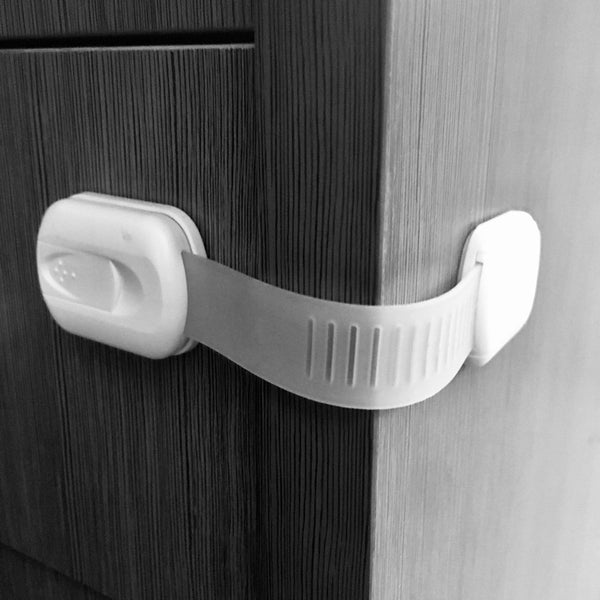
6 Pack Vmaisi Multi-Use Adhesive Straps Locks
Match placement to the opening motion
Different appliances create different stress on a strap. Test the exact motion rather than copying a placement from a different model.
Refrigerator and freezer doors
A refrigerator door swings in an arc. Keep the strap away from the hinge side, handle sweep, and flexible gasket. The seal must contact the cabinet evenly when the door closes. If the strap or an adhesive base changes that contact, do not use the position.
Also consider what happens after release. The strap should not dangle into the food compartment, catch on a drawer, or become pinched when the door closes.
Dishwashers and downward-opening doors
Many dishwasher doors pivot downward and outward; check the exact model's movement. Open it slowly while watching the proposed strap route, both bases, nearby cabinet faces, the floor, and the hinge area. Keep the lock clear of controls, displays, vents, and the door seal.
Steam, splashes, and frequent wiping can change the condition of the mounting surface. Inspect a dishwasher installation more often, and stop using it if moisture or heat affects adhesion. The product documentation must support the planned location; do not assume an adhesive lock has a particular heat rating.
Pull-out drawers and bins
A drawer moves in a straight line, but its handle, front panel, and neighboring drawers may pass close to the strap. Release the lock, pull the drawer to its normal limit, and check for rubbing along the entire path.
Trash-can lids and pull-out bins vary widely. Some pivot, slide, lift, or leave the cabinet for cleaning. A lock should not prevent routine removal, cleaning, or access by an adult. If washing repeatedly wets the adhesive area, choose a different placement.
Toilet lids and ovens
A toilet seat and lid pivot around rear hinges. Keep both bases clear of hinge movement and flush controls. Bathroom humidity and cleaning residue make surface preparation and later inspection especially important.
Oven placement requires more caution. Keep any strap away from vents, gaskets, displays, controls, and areas that may become hot. Do not assume this strap lock is suitable for high-temperature areas. If the appliance instructions or normal use leave any doubt about temperature exposure, do not install it there.
Check whether the surfaces can hold the bases
The strap may flex, but the adhesive bases need complete contact with stable material. A longer strap cannot correct a poor attachment surface.
Avoid mounting a base across:
- A rounded corner or curved panel.
- A raised molding, groove, or decorative seam.
- A textured, ribbed, or unfinished surface.
- Cracked paint, peeling coating, loose laminate, or flexible trim.
- A gasket, seal, control, display, or access panel.
- A damp, greasy, frosted, or frequently splashed area.
Door flex matters too. Some lightweight panels bend when pulled. After curing, use a gentle adult pull to confirm that the lock engages without unusual flex, scraping, or noise. Do not yank the appliance, hang on the strap, or ask a child to test it.
Prepare and cure the adhesive correctly
Read the lock instructions and the appliance care instructions before cleaning. Appliance finishes differ, and an unapproved solvent or abrasive pad can damage a coating.
Use this sequence:
- Finalize both attachment points during the dry-fit.
- Clean only with a method approved for the appliance finish and the adhesive product.
- Remove dust, grease, fingerprints, soap film, moisture, and cleaner residue.
- Let both areas dry completely.
- Confirm the route one final time before exposing the adhesive.
- Apply each base squarely with its full footprint on the surface.
- Press and cure the adhesive exactly as the product instructions direct.
- Keep children from pulling on the lock during the curing period.
Do not borrow a curing time from another brand or product. The correct wait is the one stated for the exact lock being installed. Repositioning an adhesive base can also reduce its reliability unless the instructions provide a replacement pad or an approved method.
Test normal operation after installation
Once the full curing period has passed, inspect the pad edges before engaging the lock. Close the appliance normally, connect the strap, and use a gentle pull to confirm that the restraint engages. This is a function check, not a load test.
Release the lock and operate the appliance as an adult normally would. The door, drawer, or lid should open and close without extra force. Seals should sit evenly, controls and vents should remain accessible, and no part of the lock should scrape or become trapped.
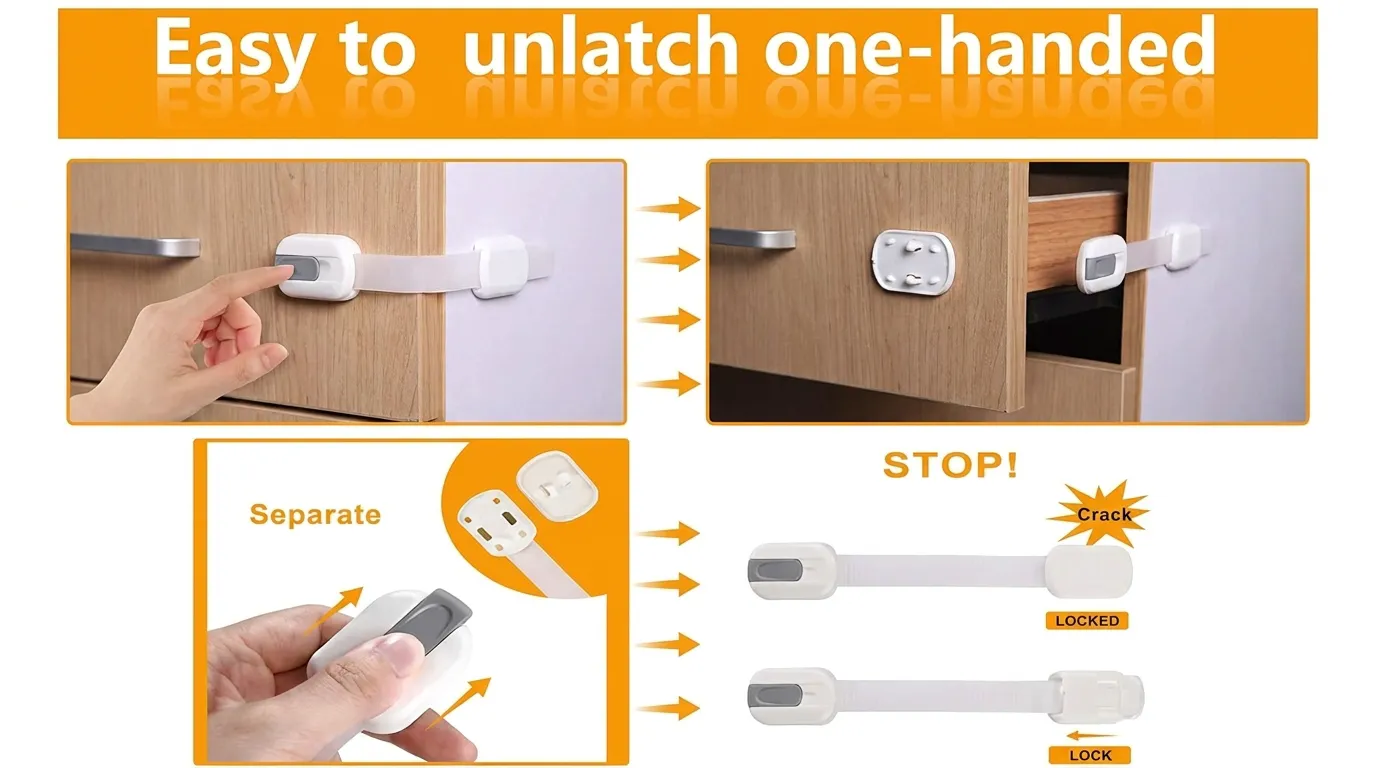
An external strap lock does not relock itself. Every adult and caregiver needs to know how to release it and reconnect it completely after use. If household members regularly leave it open, the installation is not serving its intended purpose.
Use a worksheet before committing to a location
Fill in this short record for each appliance:
| Field | Notes |
|---|---|
| Appliance or fixture | |
| Opening direction | |
| Moving-side attachment area | |
| Fixed-side attachment area | |
| Flat area available for each base | |
| Center-to-center closed span | |
| Strap route | Straight, curved, twisted, near an edge, or other |
| Handle and hinge clearance | |
| Seal or gasket clearance | |
| Vent and control clearance | |
| Surface condition | Smooth, textured, damp, greasy, damaged, or other |
| Cleaning method approved | |
| Curing instruction checked | |
| Dry-fit result | Suitable, reassess, or do not install |
| Post-cure test | Pass, reassess, or stop use |
Know when to stop using the lock
Remove the device from service and reassess the location if:
- An adhesive edge lifts, curls, shifts, or loses full contact.
- A base or release mechanism cracks or loosens.
- The strap becomes stretched, frayed, twisted, or damaged.
- The appliance stops closing, sealing, or moving normally.
- The lock rubs against a handle, hinge, seal, vent, control, display, or panel.
- You notice scraping, bending, unusual resistance, or misalignment.
- Heat, moisture, grease, frost, or cleaner residue affects the attachment area.
- A child can bypass or remove the device.
- Adults do not consistently reconnect it.
- Appliance instructions conflict with the placement.
For a compatible location, Vmaisi Multi-Use Adhesive Strap Locks are external flexible locks to evaluate for selected cabinets, drawers, refrigerators, dishwashers, toilet seats, ovens, and trash cans. They are not internal latches, magnetic locks, or a universal-fit solution. Confirm the route and surface first, then follow the product and appliance instructions.
The practical goal is a short, controlled path between two suitable exterior surfaces. Full adhesive contact, normal appliance movement, clearance around seals and vents, and regular inspection matter more than choosing the longest strap.